Teaching “How Organisms Get Energy” (Without Losing Your Students’ Attention)
If you’ve ever taught energy in living organisms, you already know…
Students struggle to connect it all.
They hear:
photosynthesis
cellular respiration
food chains
…but it all feels like disconnected vocabulary instead of one clear system.
The truth is—this topic is foundational, but it can feel abstract and overwhelming for middle school students.
And when students don’t see the connections, they don’t retain the content.
Why Students Struggle with Energy in Organisms
At its core, this topic is about understanding how energy moves through living things.
Plants capture energy from the sun through photosynthesis
Animals get energy by consuming other organisms
Cells release energy through cellular respiration
That’s a lot of processes—and students are expected to connect them all.
Without structure, students tend to:
Memorize instead of understand
Mix up producers and consumers
Forget how everything connects
The Simple Shift That Changes Everything
Instead of teaching each concept separately…
Give students a visual system to organize their thinking.
When students can:
See the flow of energy
Organize ideas in one place
Make connections themselves
…their understanding improves instantly.
My Go-To Solution: A Graphic Organizer That Builds Understanding
One of the most effective tools I use is this:
👉 How Organisms Get Energy Graphic Organizer
You can grab it here:
👉 https://www.teacherspayteachers.com/Product/How-organisms-get-energy-graphic-organizer-12918464
This resource helps students:
Break down complex processes
Visually connect energy flow
Organize producers, consumers, and processes in one place
Instead of confusion, you get:
✔ Clear thinking
✔ Better discussions
✔ Stronger retention
How I Use This in My Classroom
Here’s a simple, low-prep way to use it:
Day 1: Introduce Energy Flow
Quick mini lesson (sun → plants → animals)
Students begin filling out the organizer
Day 2: Deepen Understanding
Add cellular respiration
Connect how energy is released in cells
Day 3: Apply Learning
Use examples (food chains, real organisms)
Have students explain energy flow in their own words
Want to Make This Even More Engaging?
Pairing your organizer with a few simple classroom tools can make a HUGE difference in engagement.
Here are a few teacher favorites you can use alongside this lesson:
Dry Erase Lapboards (Perfect for Quick Practice)
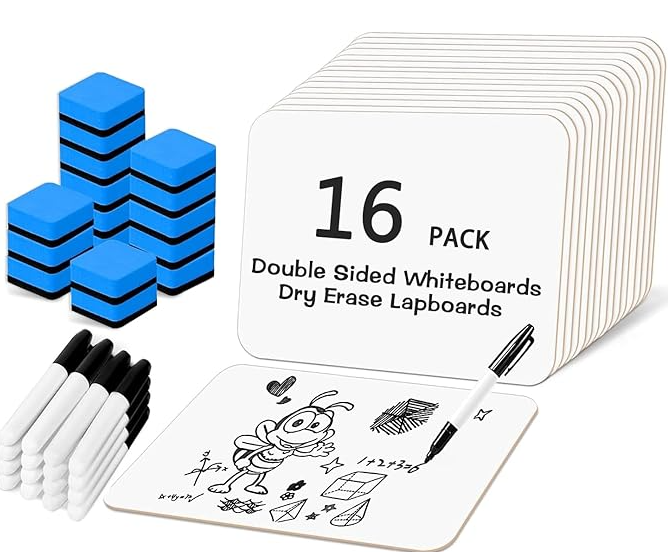
Use these for:
Drawing energy flow diagrams
Quick checks for understanding
Partner explanations
Check out the ones I love and use here: Dry Erase Lapboards
Science Anchor Chart Materials
Create a class anchor chart showing:
Sun → producers → consumers → energy release
Students LOVE having a visual reference all week.
Colored Pens or Highlighters
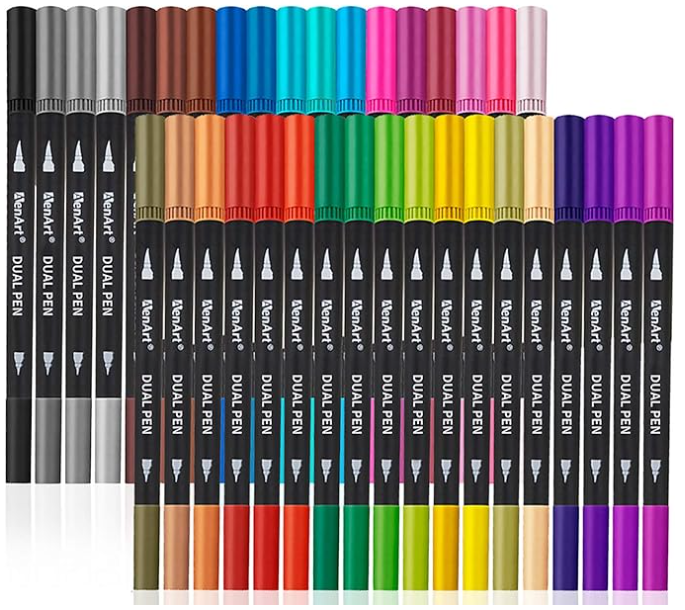
Have students:
Color-code energy flow
Highlight key processes
Make connections visually
These markers I repurchase year after year that my students love! Click Here
Why This Works
When you combine:
A structured graphic organizer
Visual supports
Interactive tools
You’re no longer asking students to memorize…
You’re helping them understand a system.
And that’s what sticks.
Final Thoughts
Teaching how organisms get energy doesn’t have to feel overwhelming—for you or your students.
Sometimes the biggest shift comes from something simple:
Giving students a way to organize their thinking visually
If you’re looking for an easy, effective way to teach this concept, you can grab the organizer here:
https://www.teacherspayteachers.com/Product/How-organisms-get-energy-graphic-organizer-12918464